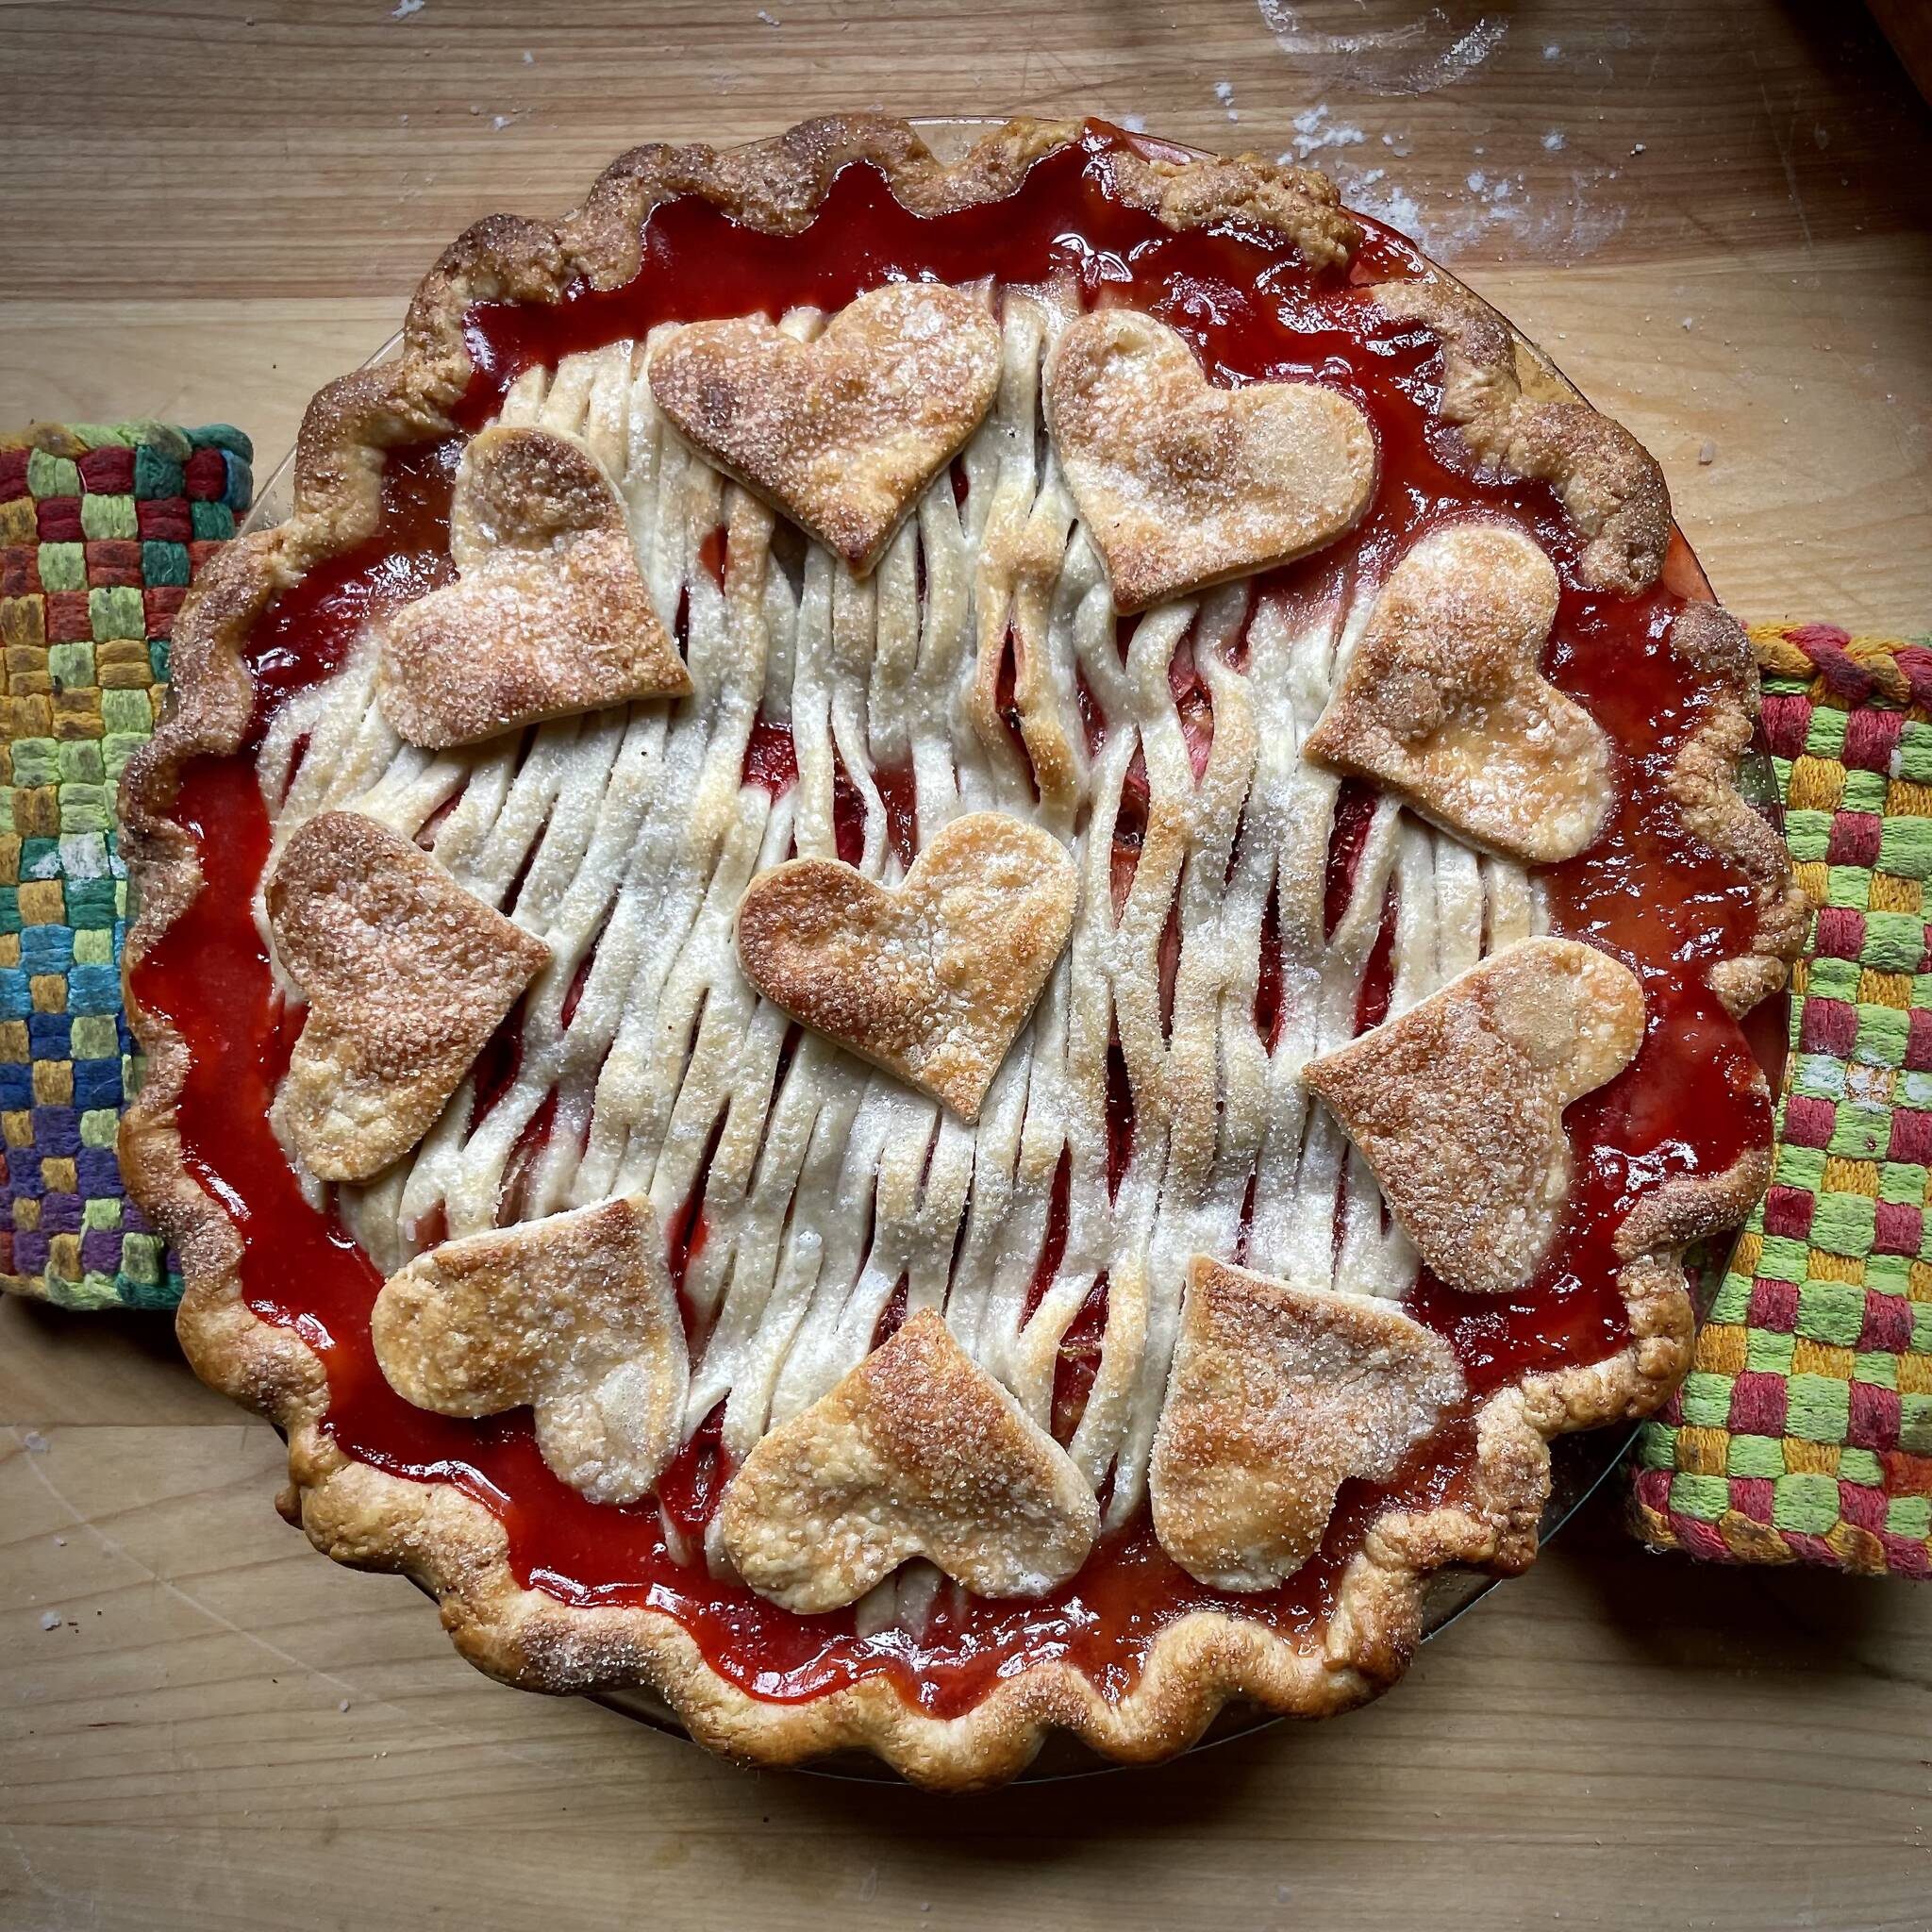
The jokester who coined the phrase “easy as pie” obviously never made one.
As my sister contends: “Pies aren’t brownies.” There’s no simple mix-and-pour here; pies are detailed construction projects dictated by temperature, ingredients, touch, and confidence.
Dough can read a hesitant hand at the quivering of a pinkie, so you need to show it who’s boss. Raise your rolling pin to the sky and proudly proclaim, “I’m going to make a great pie!”
Making a pie is more about doing a whole lot of little things right. Think of a pie as the sum of its parts — those pieces, parts, and techniques are easy to learn and master over time, especially when a seasoned (if not crusty) baker shares tips and tricks and dismisses some pie falsehoods.
Grab your apron, pull out your favorite recipe and take a gander. These tips will bring your pies to the next level.
Mixing the dough
Cold ingredients are best, especially fats like butter, lard, and shortening. Use All-Purpose or Pastry Flour — never bread flour.
• Mix the dry ingredients first, then mix in fats. I use butter.
• Cube the butter, and mix in flour with a sturdy fork until crumbly little bits appear throughout, with the largest lumps being about the size of peas. You can also use a food processor and standing mixer — no shame there.
• Add ice-cold water, however much the recipe calls for, but don’t stop there if the dough is dry. Water is not the problem. If you don’t add enough water, there’s a tendency to over-mix, and that is what makes the dough tough, not the water. Add enough water until you can mold the dough into a ball.
• Split the dough in half and create two discs; wrap and refrigerate for at least 3 hours. Overnight is even better.
Rolling the dough
• Remove the dough from the refrigerator and let it stand for 20 minutes before rolling.
• Flour the surface and top of the dough lightly. With a rolling pin, pound the dough gently to flatten it a bit. Don’t worry about the ridges. They’ll disappear when you began to roll the dough.
• Start rolling from the center of the disc, and turn a quarter each time. (This keeps the dough from shrinking in the oven.) Roll the dough until it is about two inches larger than the circumference of the pie plate upside down. Work toward a thickness of a not-so-fluffy pancake.
• Place the dough in the pie plate (I prefer 9-inch Pyrex glass) and push down gently, never stretching. Dough should hang over the edge about one inch. Trim if necessary, with kitchen scissors.
• Crimping is best understood with visual instruction. I recommend going on YouTube and searching for “How to crimp a pie.” (Be careful: YouTube is also a varied and inexhaustible source of distractions.)
Filling
Follow the recipe, but know that you can customize. Take notes to modify the recipe for next time if it needs improving.
• If runny, add more thickener (e.g. cornstarch, tapioca, flour.)
• If too sweet, add a little less sugar.
• If bland, add vanilla or almond extract or complementary spices.
• Don’t overfill the pie plate. Leave about a quarter inch below the top rim.
• Stay away from deep dish pie pans — they are vehicles for soggy bottoms.
Baking
• For the top of the crust: brush with milk and sprinkle white sugar lightly on top.
• Cut five or six steam vents in the top dough, each about two inches long.
• Once the pie is assembled, place it in the refrigerator to rest.
• Preheat your oven to 425 degrees Fahrenheit. When that temperature is reached, place the pie in the oven mid-level, on a baking sheet in case it bubbles over.
• After 20 minutes, lower the oven temperature to 350 degrees.
• Rotate the pie if one side is browning more.
• If the outside edges are browning too much, cover them with strips of foil.
• Check the pie every twenty minutes, and consider the stated baking time as a guideline. Observation is a better method of determining doneness.
• Look for the filling to start bubbling on the edges.
• Keep baking until the center area of the pie is bubbling like a thick syrup.
Finishing up
• Remove the pie from oven and let it cool at least two hours; three or four is even better. If you don’t let the pie cool, the filling runs and floods the plate.
• When it’s finally ready, take off your apron, grab the ice cream and go to town!
• I’m not a huge fan of reheating fresh pie, as it makes a good pie a soggy cobbler in most cases. (There are worse things.)
Happy baking!


